
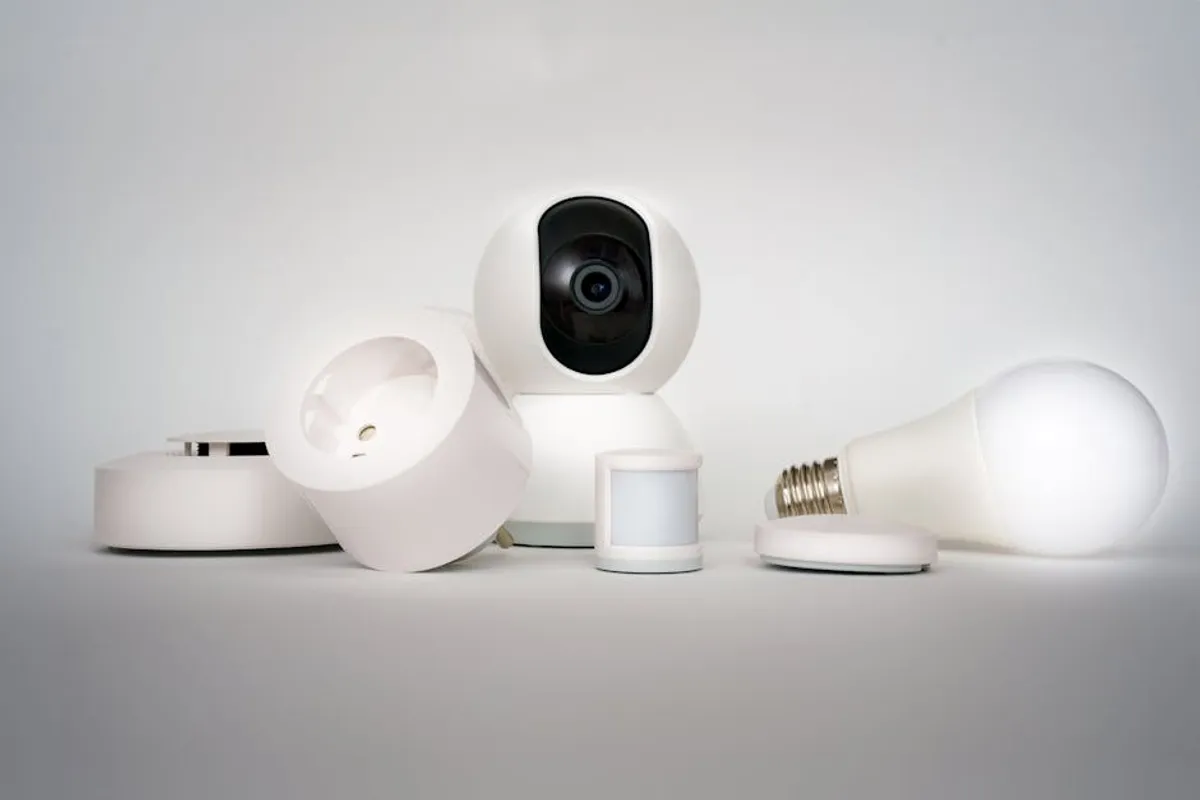
Deploying smart devices in outdoor environments introduces a distinct set of challenges beyond typical indoor installations. Weatherproof devices promise durability against elements like rain, snow, dust, and extreme temperatures, but their long-term performance hinges critically on meticulous installation. Rushing the setup or overlooking environmental factors can lead to premature device failure, connectivity issues, and security vulnerabilities, negating the investment in weather-resistant hardware. This checklist provides a structured approach to ensure your outdoor smart devices operate reliably and securely, maximizing their lifespan and functionality from day one. To ensure long-term success, it's vital to focus on choosing the right weatherproof devices that are suited for your specific environmental conditions.
Pre-Installation Planning: Foundation for Durability
Before unboxing any hardware, a thorough planning phase prevents common pitfalls and ensures the chosen devices are suitable for the specific outdoor conditions. This stage is critical for both device longevity and operational efficiency.
Site Assessment and Environmental Factors
- Location Analysis: Identify the precise mounting spot. Consider sun exposure (direct UV can degrade plastics), prevailing winds (for stability), potential for water accumulation (avoid low-lying areas or direct drip lines), and proximity to power sources.
- Weather Exposure: Verify the device's IP (Ingress Protection) rating matches anticipated exposure. An IP65 rating protects against dust and low-pressure water jets, while IP67 offers temporary immersion protection. For coastal areas, consider salt spray resistance.
- Temperature Range: Ensure the device's operating temperature range covers local extremes, both high and low, to prevent thermal stress on internal components.
- Connectivity Check: Assess Wi-Fi signal strength or cellular coverage at the intended location. Obstructions like thick walls, trees, or other outdoor structures can severely degrade wireless performance. Use a signal strength meter or a temporary device placement to confirm reliable connectivity.
Device Compatibility and System Integration
Confirming device compatibility extends beyond just brand matching. It involves ensuring seamless operation within your existing smart home or business ecosystem.
- Ecosystem Integration: Verify the new device integrates with your chosen platform (e.g., HomeKit, SmartThings, Google Home). Confirm specific features like voice control or automation routines are supported.
- Power Requirements: Understand whether the device needs constant power (AC/DC adapter), uses Power over Ethernet (PoE), or relies on battery power. For wired solutions, confirm voltage and amperage align with available circuits. For battery-powered devices, assess battery life expectations in outdoor temperatures.
- Network Protocols: Ensure compatibility with your network infrastructure. Most smart devices use Wi-Fi (2.4 GHz or 5 GHz), but some may use Zigbee or Z-Wave, requiring a compatible hub.
Physical Installation: Securing and Sealing
The physical installation phase is where weatherproofing is actively implemented through proper mounting, wiring, and sealing techniques.
Mounting and Structural Integrity
Secure mounting prevents damage from wind, impacts, or tampering. The mounting surface dictates the hardware and technique required.
- Surface Suitability: Mount devices on stable, non-vibrating surfaces. For brick or concrete, use appropriate anchors and screws. For wood, ensure screws penetrate deep enough for a secure hold. Avoid mounting directly onto siding that may flex or degrade.
- Orientation and Clearance: Follow manufacturer guidelines for device orientation. Ensure adequate clearance for vents, antennas, and sensor fields. Avoid positions where water can pool on the device or its mounting bracket.
- Theft Deterrence: Position devices out of easy reach or use anti-tamper mounts where security is a concern. Conceal wiring where possible.
Power Connections and Wiring Protection
Exposed wiring is a primary point of failure for outdoor electronics. Proper protection is non-negotiable.
- Waterproof Connections: Use outdoor-rated electrical boxes, conduit, and connectors (e.g., heat-shrink tubing, silicone sealant) for all power connections. Ensure drip loops are incorporated to prevent water from traveling along cables into the device or power outlet.
- Cable Management: Route cables through conduit or UV-resistant cable protectors to shield them from sun, moisture, and physical damage. Avoid sharp bends that can stress wiring.
- Grounding: Ensure all outdoor electrical components are properly grounded to protect against surges and electrical hazards.
Sealing and Environmental Protection
Even devices rated as weatherproof benefit from additional sealing measures during installation.
Best for: Ensuring long-term resilience against moisture and dust ingress.
- Gasket Integrity: Verify all device gaskets and seals are correctly seated and undamaged before closing any compartments. Apply a thin bead of outdoor-rated silicone sealant around mounting points or cable entry points if the manufacturer recommends it or if you suspect a gap.
- Enclosures: For devices not fully outdoor-rated or in extremely harsh environments, consider using an additional NEMA-rated outdoor enclosure. This provides an extra layer of protection against direct weather impact.
Pro Tip: Always perform a 'dry run' before final installation. Temporarily position the device and run power/network cables to confirm everything fits, reaches, and functions as expected. This identifies potential issues like insufficient cable length or poor signal strength before committing to permanent mounting and sealing.
Network Configuration and Functional Testing
Once physically installed, the device needs to be integrated into your network and tested for full functionality in its new environment.
Initial Network Pairing and Updates
Stable connectivity is the backbone of any smart device's utility.
- Wi-Fi/Bluetooth Connection: Follow manufacturer instructions for initial pairing. Ensure the device connects to the appropriate network (e.g., 2.4 GHz for many smart devices).
- Firmware Updates: Immediately check for and install any available firmware updates. These often contain critical security patches and performance improvements.
- App Integration: Connect the device to its companion app or your smart home hub. Confirm it appears correctly and is controllable.
Operational Verification and Security
Testing confirms the device performs its intended functions under real-world conditions.
- Functionality Checks: Test all features—motion detection, live video streaming, light activation, sensor readings—multiple times. Verify response times are acceptable.
- Notification Testing: Ensure alerts and notifications are correctly configured and delivered to your preferred devices.
- Security Settings: Change default passwords. Implement two-factor authentication where available. Restrict access to authorized users only.
Ongoing Maintenance for Sustained Performance
Installation is not a one-time event; regular maintenance ensures your weatherproof devices continue to perform optimally.
- Routine Inspections: Periodically check mounting hardware for looseness, cables for signs of wear or critter damage, and seals for cracking or degradation.
- Cleaning: Gently clean lenses, sensors, and solar panels (if applicable) to remove dust, pollen, and debris that can impair functionality. Use a soft cloth and avoid abrasive cleaners.
- Software Updates: Regularly check for and apply firmware and app updates to maintain security and access new features.
Ensuring Long-Term Outdoor Device Reliability
Successfully installing weatherproof smart devices outdoors demands careful planning, precise execution, and consistent maintenance. By meticulously addressing site specifics, ensuring robust physical protection, and verifying seamless digital integration, you establish a resilient smart ecosystem. This systematic approach minimizes potential failures, prolongs device lifespan, and ensures your outdoor technology delivers consistent, reliable performance regardless of environmental conditions.
Frequently Asked Questions
What does an IP rating mean for outdoor devices?
An IP (Ingress Protection) rating indicates a device's resistance to solids (like dust) and liquids (like water). The first digit refers to solids (0-6), and the second to liquids (0-9). For example, IP65 means it's dust-tight and protected against low-pressure water jets, making it suitable for general outdoor use, while IP67 offers protection against temporary immersion.
Can I use indoor smart devices outdoors if they are covered?
While a cover offers some protection from direct rain, indoor devices are not designed to withstand outdoor temperature fluctuations, humidity, or UV radiation. Their internal components and external materials will degrade faster, leading to premature failure. Always use devices explicitly rated for outdoor use.
How often should I check for firmware updates on my outdoor smart devices?
It's advisable to check for firmware updates at least quarterly, or whenever you notice a notification from the manufacturer's app. Critical security patches or performance enhancements are often released regularly, and applying them promptly helps maintain device security and functionality.
What are the common causes of outdoor smart device failure?
Common causes include water ingress due to improper sealing or inadequate IP rating, extreme temperature exposure beyond the device's operating range, UV degradation of plastics and cables, power surges, and physical damage from wind, impacts, or vandalism. Proper installation and maintenance directly mitigate these risks.