
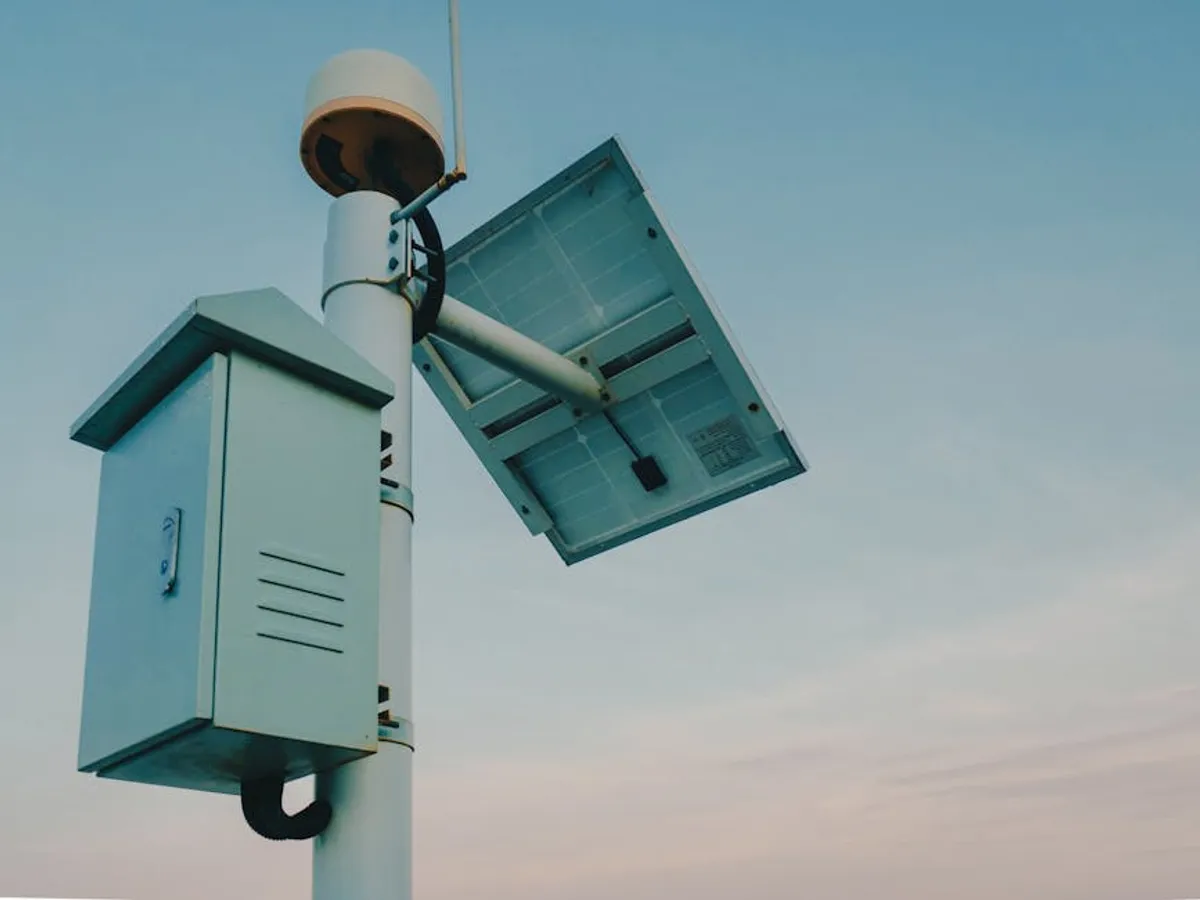
Proper installation of solar outdoor gadgets directly impacts their performance, longevity, and return on investment. Without a methodical approach, even high-quality solar lights, security cameras, or charging stations can underperform, fail prematurely, or become a source of frustration rather than convenience. This checklist provides a structured framework for ensuring each component is correctly sited, secured, and connected, minimizing common pitfalls and maximizing the commercial utility of these autonomous devices. Following these steps ensures reliable operation, reduces maintenance calls, and protects your investment by optimizing the energy capture and delivery capabilities of each unit.
Pre-Installation Planning and Site Assessment
Sunlight Exposure Evaluation
The efficiency of any solar outdoor gadget is fundamentally tied to its exposure to direct sunlight. Begin by observing the proposed installation area throughout a typical day, ideally across different seasons if possible. Identify locations that receive a minimum of 4-6 hours of unfiltered, direct sunlight daily. Obstructions such as tree canopies, building overhangs, or other structures can significantly reduce energy harvest. Use a compass to determine true south (in the Northern Hemisphere) or true north (in the Southern Hemisphere) for optimal panel orientation, though many smaller gadgets have fixed panel angles. Document potential shading patterns at different times to select the most consistently illuminated spot.
Power Needs and Device Compatibility
Before installation, verify the power requirements of your specific solar outdoor gadget. This includes understanding its operational wattage and the capacity of its integrated battery. Compare these specifications with the solar panel's output ratings (watts, volts, amps) to ensure adequate charging capability. Undersized panels will lead to insufficient charge, reducing runtime and potentially shortening battery life. For devices with external panels, confirm cable lengths are sufficient for the chosen panel and gadget locations, and that connectors are compatible and weatherproof. Consider the gadget's intended use cycle; a security camera recording 24/7 requires more consistent power than a decorative light operating only after dusk.
Location and Security Considerations
Beyond sunlight, the physical location of your solar gadget affects its functionality and security. For lighting, consider path illumination patterns or accenting specific features. For cameras, ensure a clear field of view and an appropriate height for surveillance without being easily tampered with. Evaluate the stability of mounting surfaces—a solar panel on a flimsy fence post will not withstand high winds. Assess potential theft risks; higher placements or discreet mounting can deter opportunists. Ensure the chosen location allows for safe and convenient access for future cleaning or troubleshooting without requiring specialized equipment.
Essential Tools and Materials
Having the right tools and materials on hand streamlines the installation process and prevents delays. A basic toolkit for most solar outdoor gadgets includes:
- Measuring tape and level for accurate placement.
- Power drill with appropriate bits for various materials (wood, masonry, metal).
- Screwdriver set (Phillips, flathead) for mounting hardware.
- Wire cutters and strippers for any necessary cable modifications.
- Weather-resistant cable ties or clips for secure cable management.
- Silicone sealant or waterproof tape for sealing connections and entry points.
- Mounting hardware specific to your surface (e.g., stainless steel screws, wall anchors, pole clamps).
- Personal protective equipment (PPE) such as gloves and safety glasses.
Pro Tip: Always use marine-grade stainless steel hardware for outdoor solar installations. This prevents rust and ensures long-term structural integrity, especially in coastal or high-humidity environments, avoiding premature failure and replacement costs.
Step-by-Step Installation Process
Mounting Solar Panels
Securely attach the solar panel to its chosen location. Use a level to ensure the panel is straight, and a compass or solar pathfinder to angle it optimally for maximum sun exposure. In the Northern Hemisphere, panels typically face south; in the Southern Hemisphere, they face north. The optimal tilt angle often approximates your latitude, but a slightly steeper angle can be beneficial in winter for better low-angle sun capture. Ensure all mounting screws or bolts are tightened firmly to prevent movement due to wind or vibration. For adjustable mounts, note the optimal angle for seasonal adjustments.
Wiring and Connection
If your gadget has a separate solar panel, connect the wiring according to the manufacturer's instructions, paying close attention to polarity (positive to positive, negative to negative). Improper wiring can damage the device or prevent charging. Ensure all connections are tight and then weatherproof them using silicone sealant, electrical tape, or heat-shrink tubing to prevent moisture ingress, which is a common cause of failure. Route cables neatly along structures, securing them with cable ties or clips to prevent snagging or damage from weather and wildlife. Avoid sharp bends in cables that could cause internal wire damage.
Device Placement and Integration
Position the main gadget unit (e.g., light fixture, camera body) as intended for its function. For lights, ensure they illuminate the target area without creating excessive glare. For cameras, verify the field of view covers the desired monitoring zone and is free from obstructions. If the gadget integrates with a smart home system or requires Wi-Fi, ensure it's within signal range during placement. Confirm that any motion sensors or light sensors are unobstructed and oriented correctly to trigger as required. Test any adjustable components, like camera angles or light heads, to ensure full range of motion post-installation.
Initial Testing and Configuration
Once physically installed, perform an initial power-up and functionality test. For lights, cover the solar panel to simulate darkness and check if they activate. For cameras, verify live feed access and recording capabilities. For chargers, connect a device to confirm charging. Review the manufacturer's manual for any specific configuration steps, such as setting motion sensitivity, light timers, or network connections. Allow the device to charge fully for at least 24-48 hours in direct sunlight before evaluating its sustained performance, as factory charges are often minimal.
Post-Installation Verification and Maintenance
Performance Monitoring
Regularly monitor the gadget's performance, especially during the first few days and weeks after installation. Observe if lights are staying on for the expected duration, if cameras are recording reliably, or if charging stations are delivering consistent power. Discrepancies may indicate suboptimal panel placement, insufficient sunlight, or a faulty component. Keep a log of observations, noting weather conditions and operational times, to identify patterns or recurring issues that require attention.
Regular Cleaning and Inspection
Dirt, dust, pollen, bird droppings, and snow can significantly reduce solar panel efficiency. Establish a routine for cleaning the solar panel surface with a soft cloth and mild soapy water, rinsing thoroughly. Avoid abrasive cleaners or harsh scrubbing that could scratch the panel. During cleaning, visually inspect all components: check for loose mounting hardware, frayed cables, cracked casings, or signs of animal tampering. Proactive inspection helps catch minor issues before they escalate into major failures.
Troubleshooting Common Issues
If a solar gadget underperforms, begin troubleshooting by re-checking the basics. First, ensure the solar panel is clean and receiving adequate direct sunlight. Second, verify all connections are secure and weatherproof. Third, check the battery; many solar gadgets use rechargeable batteries that have a finite lifespan and may need replacement after a few years. Consult the gadget's manual for specific troubleshooting guides, which often include common error codes or diagnostic steps. Persistent issues may indicate a need to contact the manufacturer or replace the unit.
Ensuring Long-Term Performance and Value
Adhering to a detailed installation checklist for solar outdoor gadgets moves beyond mere setup; it's an investment in reliable, long-term functionality. Each step, from precise site assessment to meticulous wiring and ongoing maintenance, directly contributes to maximizing energy capture, extending product lifespan, and ensuring the gadget consistently delivers its intended commercial value. This systematic approach minimizes costly re-installations, reduces operational downtime, and secures the full benefits of autonomous outdoor power solutions.
Frequently Asked Questions
How often should I clean solar panels on outdoor gadgets?
Clean solar panels every 1-3 months, or more frequently in dusty environments or after heavy rainfall, to remove accumulated dirt and debris that can reduce charging efficiency.
What if my solar gadget isn't charging properly?
First, ensure the solar panel is clean and receives at least 4-6 hours of direct, unobstructed sunlight daily. Check all wiring connections for security and proper polarity, and consider replacing the internal rechargeable battery if it's several years old.
Can I install solar outdoor gadgets in shaded areas?
While some solar gadgets may function with partial shade, their performance and battery life will be significantly reduced. For optimal results, always prioritize locations with maximum direct sunlight exposure throughout the day.