
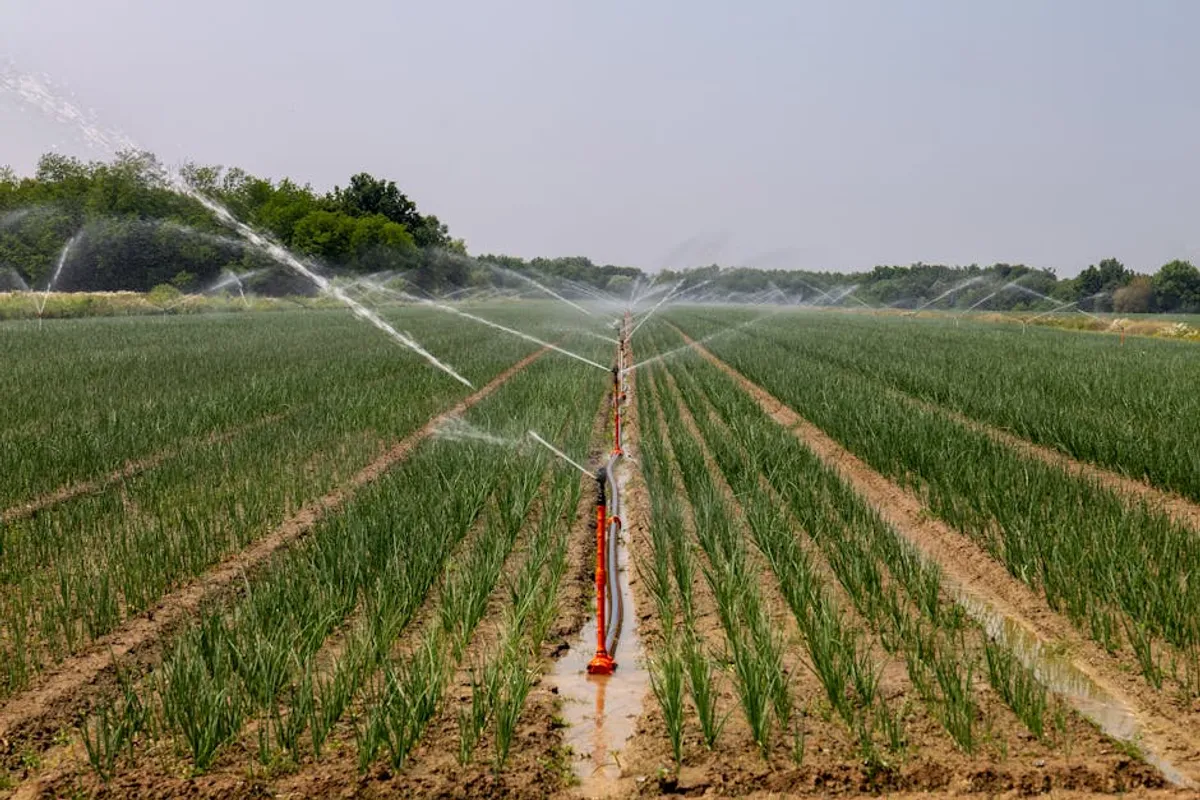
Implementing a smart irrigation system represents a significant upgrade to landscape management, promising water conservation, reduced utility costs, and healthier plant life through automated, data-driven watering schedules. However, these benefits are contingent upon a meticulous installation process. Rushing or overlooking critical steps can lead to inefficiencies, system failures, and wasted resources, negating the very advantages a smart system offers. This checklist outlines the essential stages and considerations for a successful smart irrigation setup, ensuring optimal performance from day one.
Pre-Installation Planning: Assessing Your Landscape and Needs
Effective smart irrigation begins long before any trenching or wiring. Thorough planning establishes the foundation for a system tailored to your specific property and plant requirements.
Site Survey and Zone Mapping
Accurately mapping your landscape is paramount. Identify distinct zones based on sun exposure, soil type, plant varieties (e.g., turf, shrubs, flower beds), and slope. Each zone will likely have different water requirements. Document existing hardscapes, utility lines, and potential obstructions. This detailed survey informs the placement of sprinkler heads, drip lines, and sensors, ensuring comprehensive and efficient coverage without overwatering or dry spots.
Water Source and Pressure Evaluation
Understand your water supply's capabilities. Measure static water pressure (PSI) and flow rate (gallons per minute, GPM) at the point of connection. These metrics dictate the maximum number of sprinkler heads or drip emitters that can operate simultaneously within a zone without compromising performance. Inadequate pressure can lead to poor coverage, while excessive pressure may require a pressure reducer to prevent system damage. Confirm the water source's reliability and quality, especially if using well water, which may require filtration.
Local Regulations and Permits
Before any ground is broken, research local building codes, homeowner association (HOA) rules, and permitting requirements. Many municipalities have specific regulations concerning irrigation system installation, backflow prevention devices, and water usage. Non-compliance can result in fines, project delays, or the need for costly rework. Verify setback requirements from property lines, utility easements, and septic systems.
Component Selection: Choosing the Right Smart System
The market offers a range of smart irrigation components. Selecting the right combination ensures compatibility, functionality, and long-term reliability.
Controller Features and Connectivity
The smart controller is the brain of the system. Look for models with robust Wi-Fi or cellular connectivity for remote access and real-time data integration. Key features include:
- Weather-based scheduling (ET-based) for automatic adjustments.
- Multiple zone support, matching your mapped landscape.
- Flow monitoring capabilities to detect leaks or blockages.
- Integration with smart home platforms (e.g., voice assistants).
- User-friendly interface for programming and manual overrides.
Consider the scalability of the controller if future landscape expansion is anticipated.
Sensor Integration
Smart irrigation systems leverage various sensors to optimize watering.
Rain Sensors: Crucial for preventing watering during or immediately after rainfall, conserving water.
Soil Moisture Sensors: Provide granular data on soil hydration levels, allowing the system to water only when necessary, preventing overwatering and promoting deeper root growth.
Flow Sensors: Monitor water usage in real-time, identifying leaks or broken pipes promptly.
Ensure chosen sensors are compatible with your selected controller and can be installed in representative zones.
Valve and Sprinkler Head Compatibility
Match valves and sprinkler heads to your water pressure, flow rate, and specific zone requirements.
Valves: Select durable, reliable solenoid valves appropriate for the system's pressure and flow. Ensure proper sizing for each zone's demand.
Sprinkler Heads: Choose heads based on coverage pattern (e.g., spray, rotor, drip), throw distance, and precipitation rate. Drip irrigation is ideal for beds and shrubs, minimizing evaporation and direct application to plant roots. Uniform precipitation rates across a zone prevent waterlogging in some areas while others remain dry.
Installation Day: Step-by-Step Execution
Precision during installation is critical for system integrity and performance.
Trenching and Pipe Laying
Dig trenches to the recommended depth, typically 6-12 inches, to protect pipes from damage and freezing (in colder climates). Ensure trenches are wide enough for comfortable pipe placement and future access. Lay PVC or polyethylene pipes according to your zone map, using appropriate fittings and solvent cement for secure, leak-proof connections. Avoid sharp bends that can restrict flow.
Wiring and Valve Connections
Run waterproof control wires from the controller to each valve, ensuring proper insulation and protection within the trenches. Connect wires to valve solenoids following manufacturer instructions, using waterproof connectors. Label all wires and valves clearly for future troubleshooting and maintenance. Test continuity before burying.
Nozzle and Emitter Placement
Install sprinkler heads and drip emitters at planned locations, ensuring proper spacing for head-to-head coverage. Adjust pop-up heights for turf areas and secure drip lines with stakes. Verify that spray patterns are not obstructed by plants or hardscapes and do not spray onto impervious surfaces like sidewalks or driveways.
Controller Mounting and Power
Mount the smart controller in a protected, accessible location, typically near the main water shut-off or electrical outlet. Ensure it's away from direct sunlight and extreme temperatures. Connect the controller to a dedicated power source, adhering to electrical codes. If using an outdoor-rated controller, ensure its enclosure provides adequate weather protection.
Pro Tip: Before backfilling trenches, conduct a full system pressure test. Turn on the water supply and run each zone individually, visually inspecting all connections, sprinkler heads, and drip lines for leaks, proper pressure, and coverage. Addressing issues at this stage prevents costly excavation later.
Post-Installation Configuration and Testing
A properly installed system requires careful calibration and ongoing monitoring.
Initial System Programming
Configure the smart controller with your specific zone information, including plant type, soil type, sun exposure, and sprinkler head type. Input local weather station data or connect to a reliable weather service. Set initial watering schedules based on these parameters, allowing the system's smart features to begin optimizing.
Leak Detection and Coverage Verification
After initial programming, run a full cycle for each zone and meticulously check for leaks, broken heads, or areas with inadequate coverage. Adjust sprinkler heads for optimal spray patterns and throw. Ensure drip emitters are consistently delivering water. Use flow sensors to establish baseline water usage for each zone, which will help detect anomalies later.
Seasonal Adjustments and Maintenance Schedule
While smart controllers automate many adjustments, periodic manual checks are still beneficial. Review historical watering data to fine-tune settings. Establish a routine for cleaning filters, checking for clogged nozzles, and inspecting pipes for damage. In colder climates, implement proper winterization procedures to prevent freezing damage.
Ensuring Long-Term Performance
A smart irrigation system delivers its full value through continuous optimization and proactive care. Regularly review system reports, respond to alerts, and make minor adjustments as landscape needs evolve. This commitment to ongoing management maximizes water savings, promotes a vibrant landscape, and protects your investment.
Frequently Asked Questions
How much water can a smart irrigation system save?
Savings vary significantly based on climate, plant type, and previous watering habits, but systems commonly reduce water consumption by 30-50% compared to traditional timers by adjusting to real-time weather and soil conditions.
Is professional installation always necessary?
While a DIY approach is possible for smaller, simpler landscapes, professional installation ensures proper design, component selection, and adherence to local codes, often leading to greater efficiency and fewer issues in the long run.
What maintenance does a smart irrigation system require?
Regular checks include cleaning sprinkler heads, inspecting for leaks or damage, testing sensors, and seasonal adjustments like winterization or spring startup. The smart controller itself typically requires minimal maintenance beyond occasional software updates.