
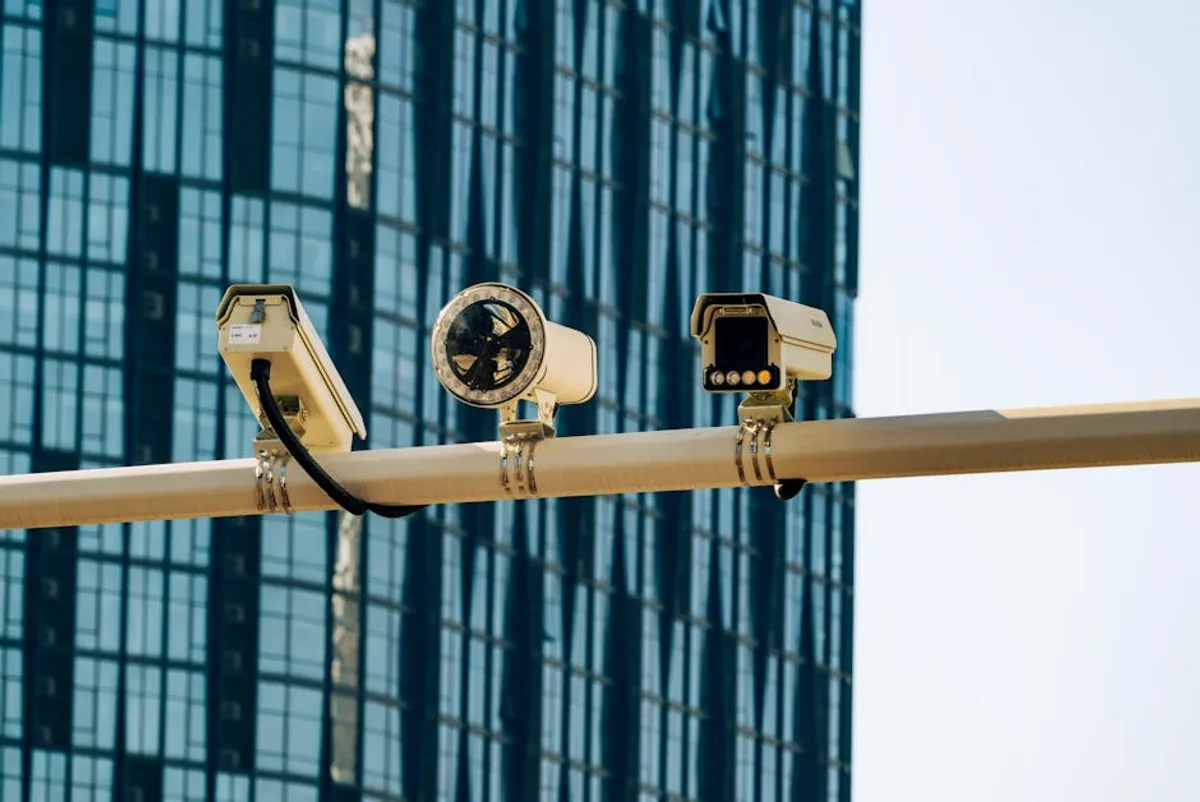
Deploying outdoor security cameras demands a methodical approach beyond simply mounting hardware. The effectiveness of any surveillance system hinges on meticulous planning and precise execution, directly impacting its ability to deter, detect, and record incidents. A poorly installed system can create false senses of security, leaving vulnerabilities unaddressed, leading to costly reworks or, worse, compromised property. This checklist provides a structured framework, guiding through the critical stages of planning, installation, and post-setup verification, ensuring a robust and reliable outdoor security infrastructure. This checklist provides a structured framework, guiding through the critical stages of planning, installation, and post-setup verification, ensuring a robust and reliable out, starting with selecting the right camera for your needs.
Pre-Installation Planning: Foundation for Effective Surveillance
Site Assessment and Coverage Mapping
Before any equipment is unboxed, a thorough site assessment is paramount. This involves physically walking the perimeter and interior areas requiring coverage to identify potential entry points, high-value assets, and existing blind spots. Use a property diagram or sketch to map out desired camera locations, considering optimal angles for maximum field of view (FoV) and object identification. Key considerations include:
- Targeted Coverage: Focus on doors, windows, gates, driveways, and common activity zones.
- Line of Sight: Ensure unobstructed views, accounting for future foliage growth or seasonal changes.
- Deterrent Value: Position cameras visibly to discourage potential intruders, but also consider discreet placement for covert monitoring if necessary.
- Lighting Conditions: Assess natural and artificial light sources throughout the day and night to avoid glare or underexposed areas.
- Privacy Compliance: Ensure cameras do not inadvertently capture neighboring properties or public spaces without legitimate security justification, adhering to local privacy laws.
This initial mapping phase directly informs the type and quantity of cameras required, preventing costly over- or under-purchasing.
Power and Network Connectivity
Reliable power and network access are non-negotiable for consistent camera operation. Identify existing power outlets or plan for new electrical runs to each camera location. For Power over Ethernet (PoE) cameras, verify the availability of compatible network switches or injectors capable of delivering both data and power through a single cable. For wireless cameras, conduct a Wi-Fi signal strength test at each proposed camera location to confirm stable connectivity and adequate bandwidth for high-definition video streams. Consider:
- Power Source Proximity: Minimize cable runs to reduce voltage drop and installation complexity.
- Network Infrastructure: Ensure your router and switches can handle the increased network load from multiple camera feeds without performance degradation.
- Signal Interference: Identify potential sources of Wi-Fi interference (e.g., thick walls, large metal objects, other wireless devices) and plan for signal boosters or wired alternatives where necessary.
- Backup Power: Evaluate the need for uninterruptible power supplies (UPS) to maintain surveillance during power outages.
Inadequate power or network planning frequently leads to intermittent recording, dropped frames, or complete system failure.
Equipment Selection and Compatibility
Choosing the right hardware is crucial for achieving specific security objectives. Based on your site assessment, select cameras with appropriate features for each location. Consider:
- Resolution: 1080p (Full HD) is a common baseline, but 4K (Ultra HD) offers significantly more detail for identification, especially over larger areas.
- Field of View (FoV): Wide-angle lenses cover broad areas, while varifocal or PTZ (Pan-Tilt-Zoom) cameras offer adjustable or dynamic coverage.
- Night Vision: Infrared (IR) night vision is standard; color night vision (Starlight, low-light sensors) provides superior detail in minimal ambient light.
- Weather Resistance: Cameras must be rated for outdoor use (e.g., IP66 or IP67 for dust and water resistance) and operate within your local climate's temperature extremes.
- Storage Options: Evaluate local (SD card, NVR/DVR) vs. cloud storage solutions, considering retention periods and accessibility requirements.
- System Compatibility: Ensure all components (cameras, NVR/DVR, software) are compatible, especially if integrating with existing smart home or security systems.
Mismatched equipment can lead to integration issues, reduced functionality, or premature failure.
Pro Tip: Before drilling or final mounting, temporarily position cameras at their intended locations using tape or clamps. Connect them to power and your network, then view the live feed on your monitoring device. This allows for real-time angle adjustments, verification of FoV, and identification of unexpected obstructions or glare points before permanent installation. This step saves significant time and effort in correcting mistakes later. This allows for real-time angle adjustments, verification of FoV, and identification of unexpected obstructions or glare points before permanent installation, thus avoiding common installation mistakes.
Installation Day: Step-by-Step Execution
Mounting and Positioning
Securely mount each camera according to manufacturer instructions and your pre-planned map. Use appropriate hardware for the mounting surface (wood, brick, siding). Ensure cameras are positioned at a height that deters tampering but still allows for clear facial or object recognition. Typically, 8-10 feet off the ground is a good balance. Angle cameras slightly downwards to capture a wider ground area and reduce direct sky glare. Double-check that the mounting is stable and resistant to vibrations that could blur footage.
Wiring and Power Management
Route all power and network cables neatly and securely. Use conduit or cable clips to protect wiring from weather, pests, and accidental damage. Seal any entry points into buildings to prevent water ingress. For wired connections, ensure all connections are tight and waterproofed if exposed to the elements. Verify that power adapters are protected from moisture and extreme temperatures. Proper cable management extends the lifespan of your system and maintains a professional appearance.
Network Configuration and Testing
Once physically installed, connect cameras to your network. Access each camera's interface (via web browser or dedicated app) to configure essential settings: IP addresses (static IP is often preferred for reliability), administrator passwords, time zones, and recording schedules. Perform comprehensive tests:
- Live Feed Verification: Confirm all cameras display clear, real-time video.
- Recording Test: Manually trigger recordings and verify they are saved correctly to your chosen storage (NVR/DVR, SD card, cloud).
- Motion Detection: Calibrate motion detection zones and sensitivity to minimize false alerts from environmental factors (e.g., swaying trees, shadows, passing traffic) while ensuring legitimate events are captured.
- Remote Access: Test remote viewing capabilities from outside your network using a mobile app or web portal.
Address any connectivity or configuration issues immediately to ensure full system functionality.
Post-Installation Verification and Maintenance
System Testing and Optimization
After initial setup, allow the system to run for a few days, actively monitoring its performance. Review recorded footage for clarity, frame rate consistency, and accuracy of motion detection. Adjust camera angles, focus, or sensitivity settings as needed to optimize coverage and reduce false alarms. Ensure all notifications (email, push alerts) are configured and functioning as expected. This period allows for fine-tuning based on real-world conditions.
Ongoing Monitoring and Data Management
Establish a routine for checking system health. Regularly log into your NVR/DVR or cloud portal to confirm all cameras are online and recording. Implement a data management strategy, including scheduled backups of critical footage and understanding your storage retention limits. If using cloud services, verify subscription status and data transfer limits. Proactive monitoring helps catch issues before they compromise security.
Regular Maintenance Schedule
Security cameras require periodic physical and software maintenance to ensure longevity and performance. Create a schedule for:
- Lens Cleaning: Annually or bi-annually, clean camera lenses with a soft, damp cloth to remove dirt, dust, and spiderwebs that can degrade image quality.
- Firmware Updates: Check for and apply manufacturer firmware updates to enhance security features, fix bugs, and improve compatibility.
- Cable Inspection: Periodically inspect exposed cables for wear, fraying, or damage from pests or weather.
- Power Supply Check: Verify power adapters and connections are secure and free from corrosion.
- Software Review: Review recording settings, motion zones, and notification preferences at least once a year to ensure they still meet your security needs.
Consistent maintenance prevents common failures and extends the operational life of your investment.
Securing Your Property Effectively
A well-planned and meticulously installed outdoor security camera system provides a robust layer of protection for any property. By adhering to a comprehensive checklist from initial site assessment through ongoing maintenance, you establish a reliable surveillance infrastructure that actively deters threats, captures critical evidence, and offers peace of mind. Each step, from selecting the right camera to fine-tuning motion detection, contributes to the overall efficacy and longevity of your security investment. Prioritize these details to ensure your outdoor cameras perform as intended, offering continuous, high-quality monitoring.
Frequently Asked Questions
How high should I mount outdoor security cameras?
Generally, mount outdoor cameras between 8 to 10 feet (2.4 to 3 meters) off the ground. This height deters tampering while providing a broad field of view for identification without being easily obscured by minor obstacles.
Do I need professional installation for outdoor security cameras?
While many DIY kits are available, professional installation ensures optimal placement, secure wiring, proper network configuration, and adherence to local regulations. For complex setups or multi-camera systems, professional services often provide greater reliability and long-term support.
What is the most important feature for an outdoor security camera?
The most important feature depends on specific needs, but high-resolution video (1080p or 4K) combined with effective night vision (infrared or color night vision) and weather resistance (IP66/IP67 rating) are universally critical for clear identification and reliable operation in outdoor conditions.
How often should I clean my outdoor security camera lenses?
It is recommended to clean outdoor camera lenses at least once or twice a year, or more frequently if they are exposed to significant dust, pollen, or environmental debris. Regular cleaning ensures optimal image clarity and performance.